.webp)


Designing a custom button used to mean waiting weeks. A designer would send sketches, the factory would carve a master, cast a mould, run a sample batch, and ship it back for approval. If something needed tweaking, the cycle started over. 3D printed buttons changed that maths entirely.
At Chetna International, we've integrated 3D printing into our prototyping workflow over the past few years. It's reshaped how we develop custom buttons for fashion clients, especially on tight deadlines.
A 3D printed button is built layer by layer from a digital design file, usually in resin or polymer powder. Unlike traditional button manufacturing methods where buttons get turned, cast, or moulded from existing material, 3D printing builds each piece from scratch.
For most fashion applications, 3D printing isn't a production method. It's a prototyping tool. The buttons we 3D print are samples, design iterations, and small-batch limited runs. When a client approves the prototype, we typically move to traditional casting or moulding for the production order.
That distinction matters because there's a lot of marketing noise suggesting 3D printing will replace conventional button manufacturing. It won't, at least not for bulk orders. But it has transformed the early stages of button development.
Three printing technologies dominate button prototyping work:
SLA (Stereolithography) uses a UV laser to cure liquid photopolymer resin layer by layer. SLA produces the finest detail, which is why we use it for most button samples. Surface finish is smooth enough that clients can assess texture, sheen, and edge crispness without heavy post-processing.
SLS (Selective Laser Sintering) fuses nylon powder with a laser. SLS prints are more durable than SLA and don't need support structures, but the surface comes out matte and slightly grainy. Useful for mechanical testing of shanks or unusual button geometries.
FDM (Fused Deposition Modelling) extrudes melted plastic filament. FDM is the cheapest option and the most familiar to anyone who's seen a desktop 3D printer. Resolution is too coarse for most button work, though it's occasionally used for oversized novelty buttons or quick concept models.
For polyester button replication specifically, SLA gives the closest visual match to the final cast piece.
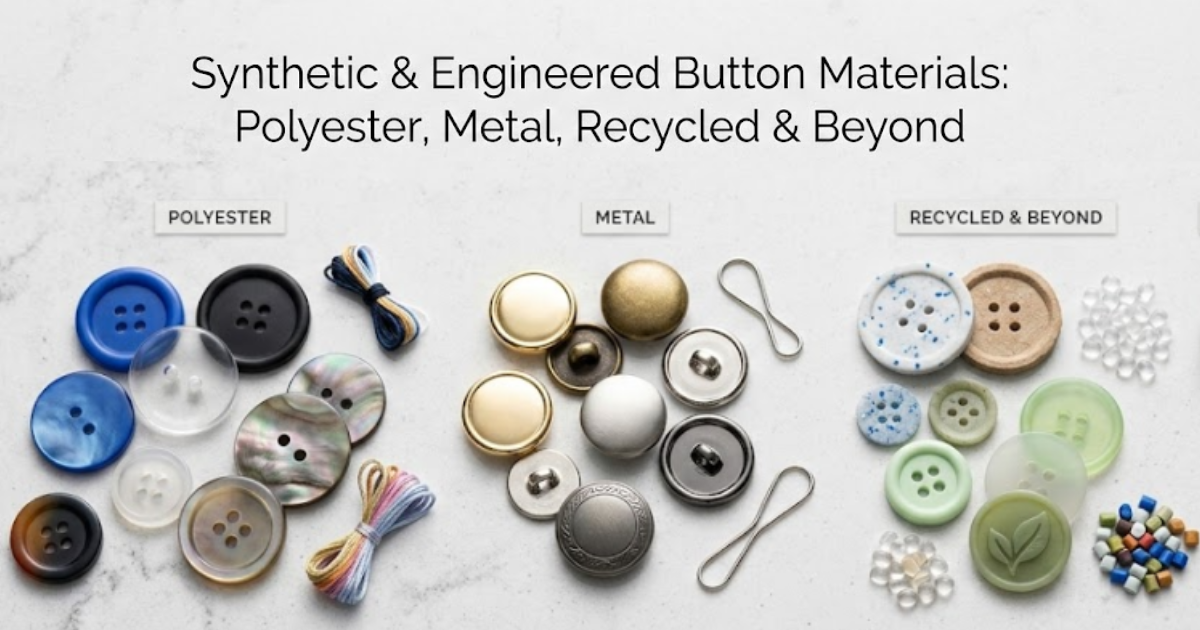
Standard photopolymer resin is the workhorse for SLA button prototypes. It cures hard, takes paint and dye reasonably well, and matches the rough density of finished polyester resin buttons. We use coloured resins for clients who want to see a colourway without secondary finishing.
Nylon powder from SLS sintering produces tougher samples that survive sewing tests and abrasion checks. The trade-off is surface finish, which often needs vapour smoothing or hand polishing before client review.
Bioplastic and recycled resins are becoming more common in prototyping. We've started testing print materials made from post-industrial waste, which dovetails with what our subsidiary RRAJ Bioplast does on the production side through the Reformé recycled button line. For brands working on a sustainable buttons collection, the prototype itself can now be made from low-impact material.
The traditional sampling cycle for a custom button looks something like this: design brief, manual sketch, master carving by hand, mould creation, casting trial, finishing, dispatch. Five to six weeks if everything goes well. Two to three rounds of revisions, and you're looking at three months before a button is approved.
3D printing collapses the early stages. A designer sends us a CAD file or a hand sketch we model digitally. We print the first prototype within 24 to 48 hours. Revisions take hours, not weeks, because we're editing a digital file, not recarving a master.
Here's where it gets useful: we can print five different versions of the same button in a day. Different sizes, different rim profiles, different engravings. The client picks one, and we move to production tooling. This kind of iteration speed simply wasn't possible before 3D printing entered the workflow.
[Insert video: CAD file to printed sample workflow]
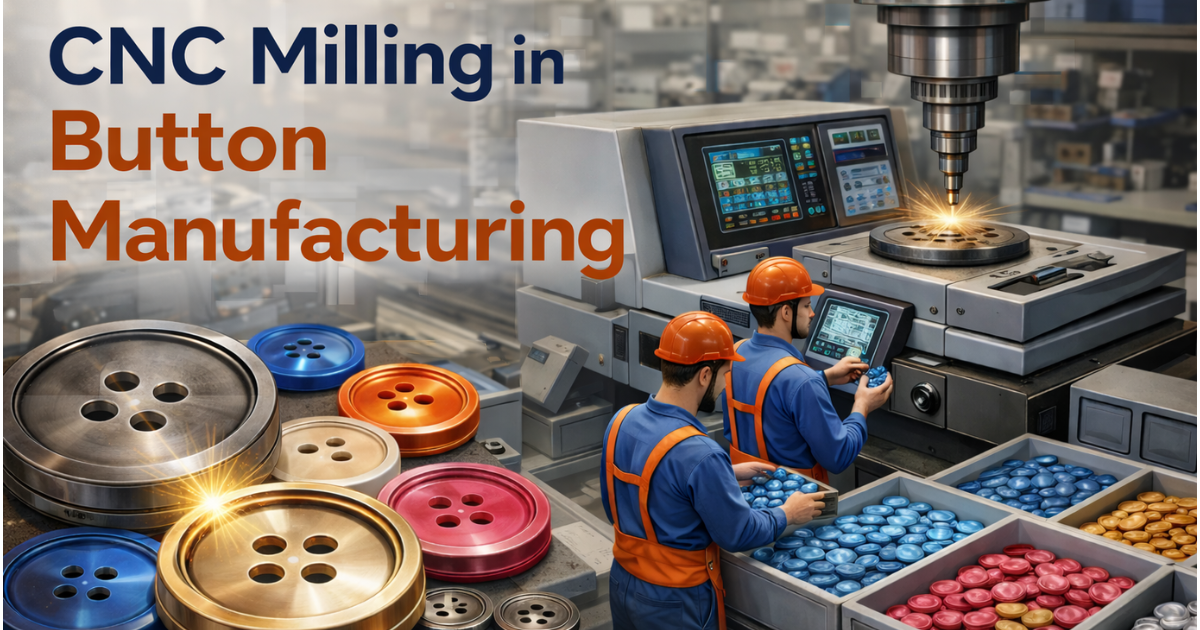
Once a prototype is approved, most production runs still go to conventional methods. Polyester resin buttons cast from sheets remain the most cost-effective way to produce thousands of identical pieces. CNC milling handles certain materials and geometries that don't suit casting. 3D printing is too slow and too expensive per unit for bulk orders.
Where 3D printing does enter production is for small-batch luxury or limited-edition work. We've made print runs of 200 to 500 buttons for capsule collections where each piece needed unique numbering or where the design was too intricate for tooling to make economic sense.
3D printing reduces material waste in the development phase. Traditional sampling requires casting full sheets or batches just to produce a handful of test buttons. The leftover material often gets discarded. With 3D printing, we use only the resin or powder needed for the specific prototypes.
For brands serious about sustainable button manufacturing, this matters at the design stage. A typical custom development project might generate 2 to 3 kg of waste polyester from sampling alone. 3D printing reduces that to grams.
There's also the iteration question. Fewer physical samples shipped between countries means fewer flights, fewer packaging materials, fewer rejected batches headed to landfill. We've seen development cycles shrink from three months to three weeks on certain projects, which translates directly to lower environmental cost.
3D printed buttons aren't suited to every garment. Resin printed pieces can be brittle under sharp impact, and most printing materials don't handle industrial laundry temperatures above 60°C reliably. For workwear or heavily washed garments, we'd recommend cast polyester or horn.
Surface finish on print can fall short of cast quality. Layer lines remain visible without post-processing, and even sanded prints don't quite match the optical depth of a properly polished cast button. For luxury applications where finish is everything, we still prefer to cast the production pieces from a 3D printed master.
Cost per piece is the other reality check. A 3D printed button can cost 50 to 100 times more per unit than a cast equivalent. That's fine for samples and viable for runs under 500 pieces. Beyond that, the maths doesn't work.
Bring 3D printing into the conversation if you're developing a button with an unusual shape, want to see multiple variations before committing to tooling, or need samples in days rather than weeks. It's also worth asking about for limited-edition collections under 500 units.
If you're ordering standard shapes in volume, traditional polyester casting remains the better answer. The 3D printer doesn't compete with casting on cost or scale. It competes with the carving knife and the sample shop.
Can 3D printed buttons be used in actual garments?
Yes, for samples, runway pieces, and small-batch limited editions. For mass production, the cost per unit is too high, and we'd typically use the print as a master pattern for cast polyester production.
What's the fastest turnaround for a 3D printed button prototype?
24 to 48 hours from approved CAD file to printed sample. If design work is needed first, add another day or two for digital modelling and review.
Are 3D printed buttons sustainable?
The process generates less waste than traditional sampling. Material choice still matters, since standard photopolymers aren't biodegradable. We're testing recycled and bio-based print resins for clients prioritising sustainable buttons.
Can you 3D print in metal or with a metallic finish?
Direct metal 3D printing exists but isn't cost-effective for buttons. We typically print in resin, then electroplate the finished sample for a metallic look. The result matches what cast metal buttons would look like.
What file formats do you need from designers?
STL, STEP, or OBJ files print directly. We can also work from sketches, technical drawings, or even physical reference samples, though digital files speed everything up.
How many revisions are typical before a final button is approved?
Two to four rounds for most custom projects. With 3D printing, each round takes 2 to 3 days instead of 2 to 3 weeks, so we can run more revisions in less calendar time.
3D printing earned its place in the button development workflow because it solves a specific problem: slow, expensive sampling. It hasn't replaced traditional manufacturing, and it isn't trying to. What it does, it does well.
If you're working on a custom button project and want to see what's possible with 3D printed prototyping, get in touch with our team. We handle CAD modelling, printing, and the transition to production casting under one roof at our facility in India.


.svg)


.svg)


.jpg)


.jpg)

%20(1).jpg)


.jpg)


.jpg)


.jpg)
.jpg)


.jpg)

.jpg)


